一、注册github并建立仓库
1、注册github
首先需要一个github账号 如果没有可以去注册一个
2、建立仓库
登陆后在右上角 + 号处新建一个仓库(New repository)

二、建立本地环境
1、安装 node.js 和 git
由于我用的是Kali linux,所以直接命令安装,如果是Windows,这里参考其它教程
apt install nodejs npm git
apt update  #建议先更新
2、建立本地目录
mkdir note && cd note3、连接github
第1步,绑定github的邮箱账号
git config --global user.name "GitHub的用户名"
git config --global user.email "GitHub的邮箱"
git config --global --unset-all user.name  #假如输入错误,删除全局用户名
git config --global --unset-all user.email #假如输入错误,删除全局邮箱
第2步,生成ssh密钥
ssh-keygen -t rsa -C "GitHub的邮箱"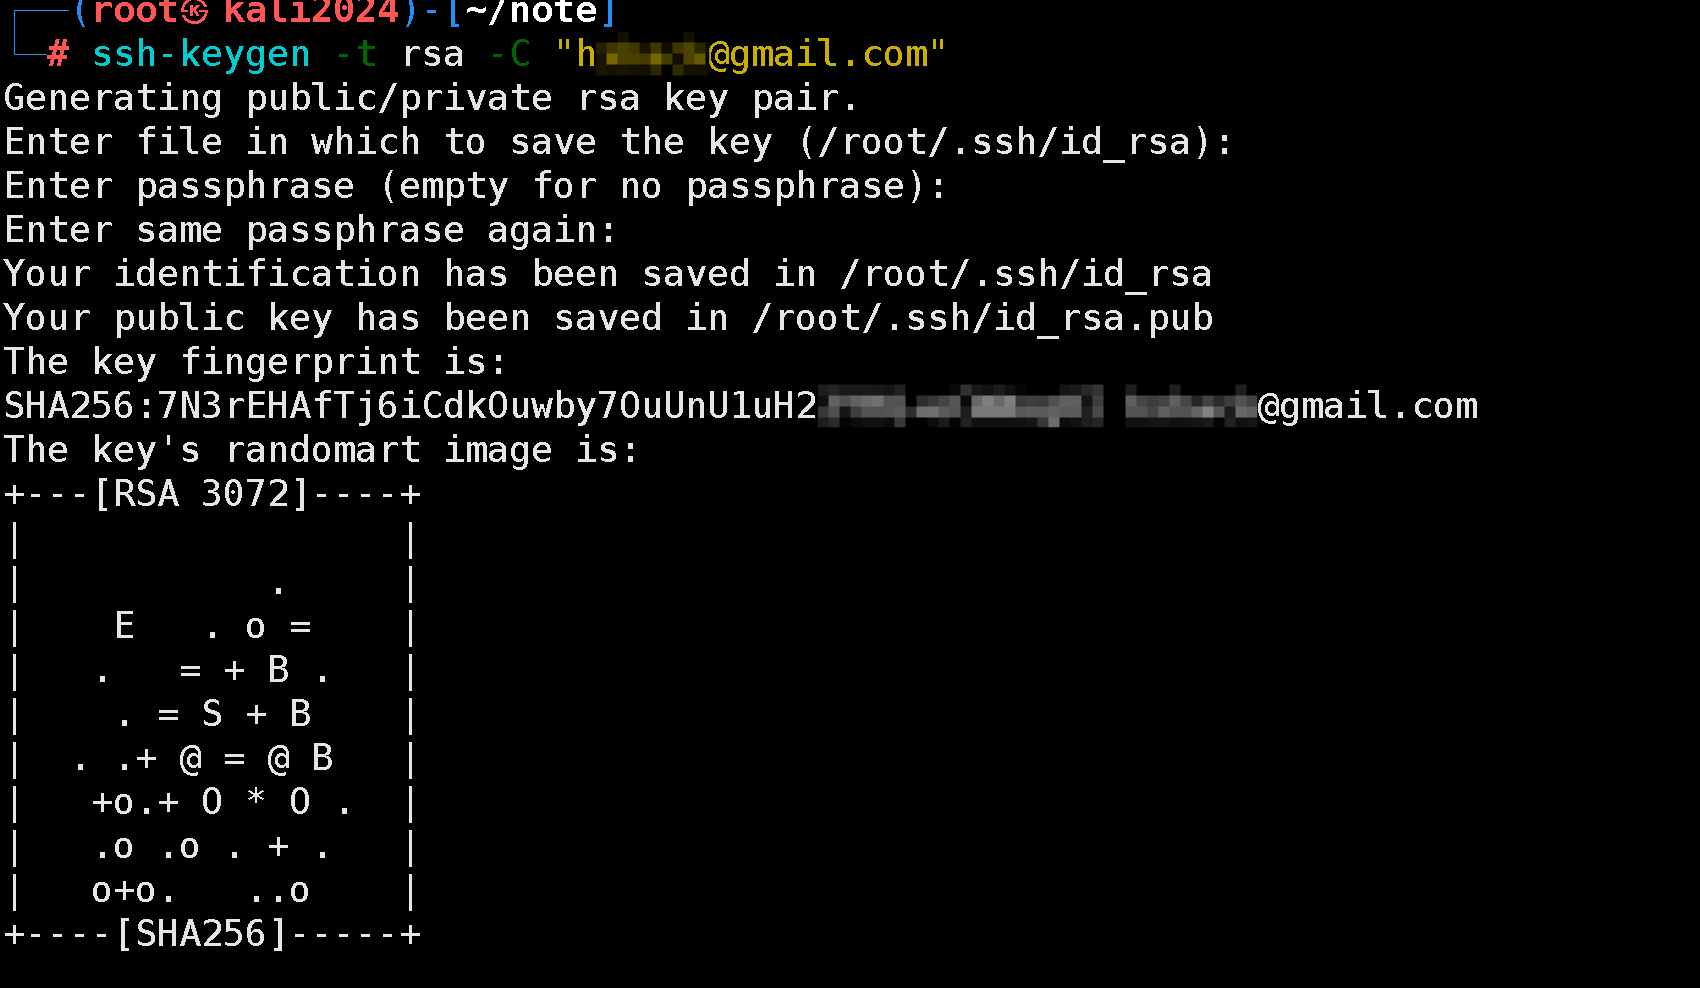
第3步,查看ssh公钥
cat ~/.ssh/id_rsa.pub
第4步,绑定ssh公钥

第5步,验证ssh(可忽略)
ssh -T git@github.com #看到successfully说明成功了
三、安装hexo
1、配置国内加速rpm源并安装hexo
npm config set registry http://registry.npmmirror.com
npm install -g hexo-cli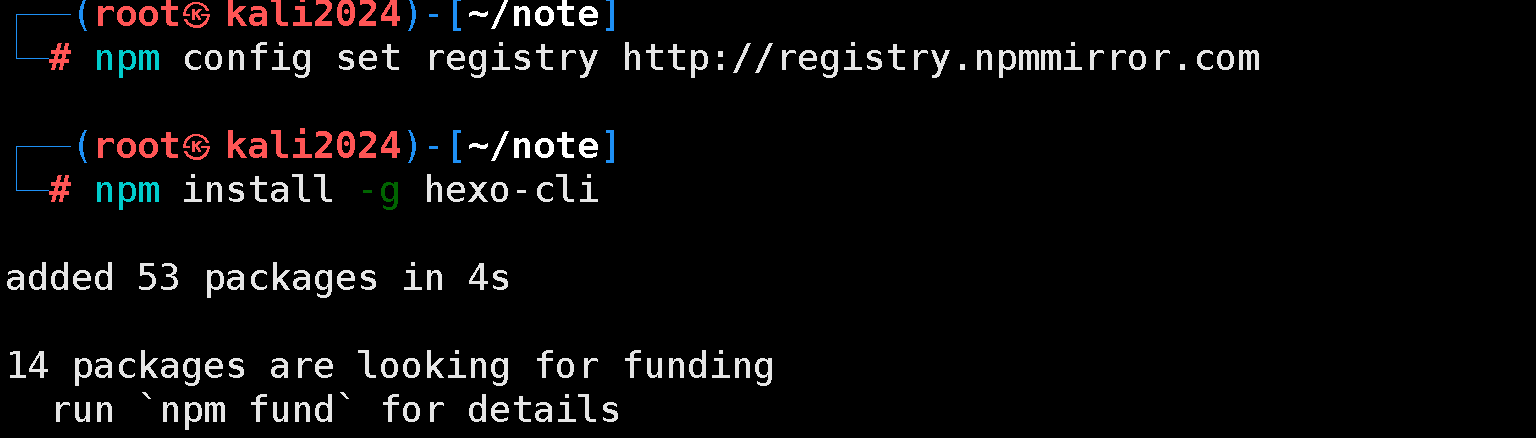
2、初始化hexo
hexo init
npm install
npm install hexo-deployer-git --save
3、修改配置文件
打开 _config.yml 修改文件末尾,按截图添加

deploy:
  type: git
  repository: git@github.com:用户名/用户名.github.io.git
  branch: master
4、测试博客
hexo g      #生成页面
hexo s      #本地预览
打开http://localhost:4000 就可以看到hexo的初始界面了

四、发布到github
1、部署hexo
hexo d #部署命令deploy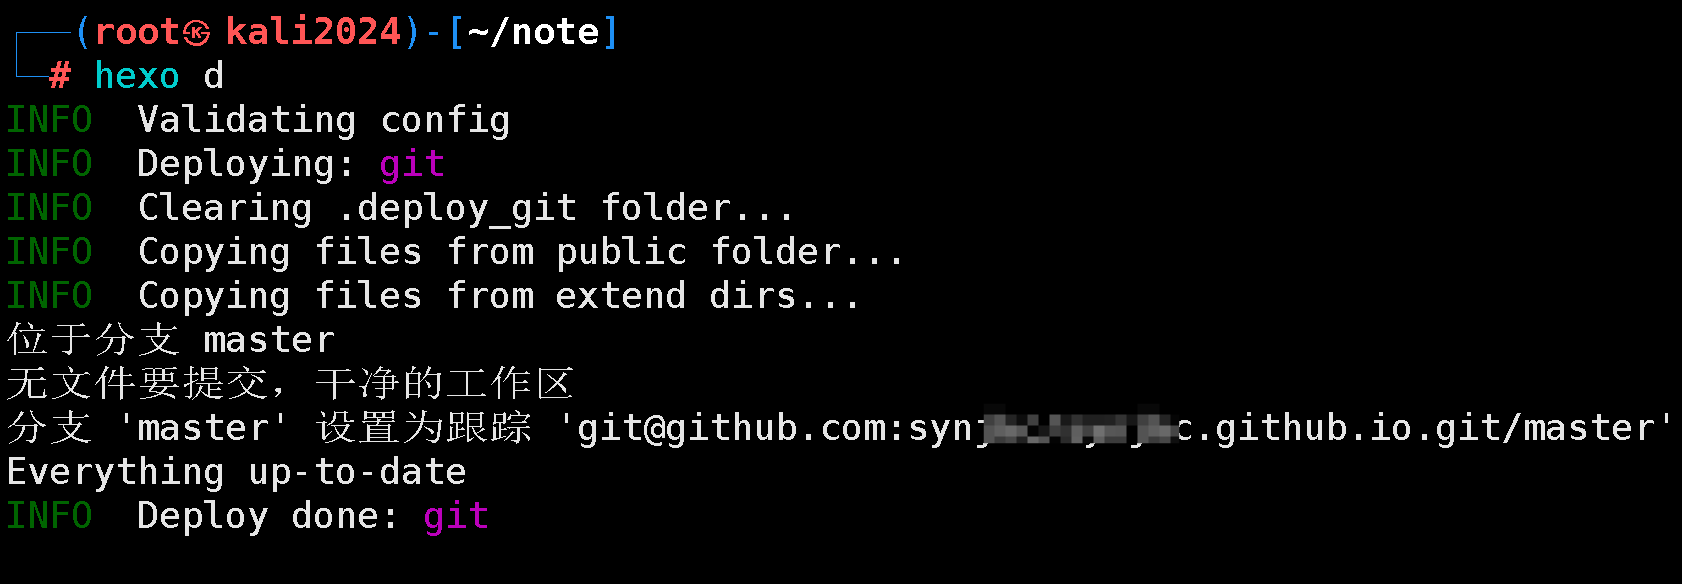
2、查看Github Pages状态
https://github.com/s***/s***.github.io/settings/pages

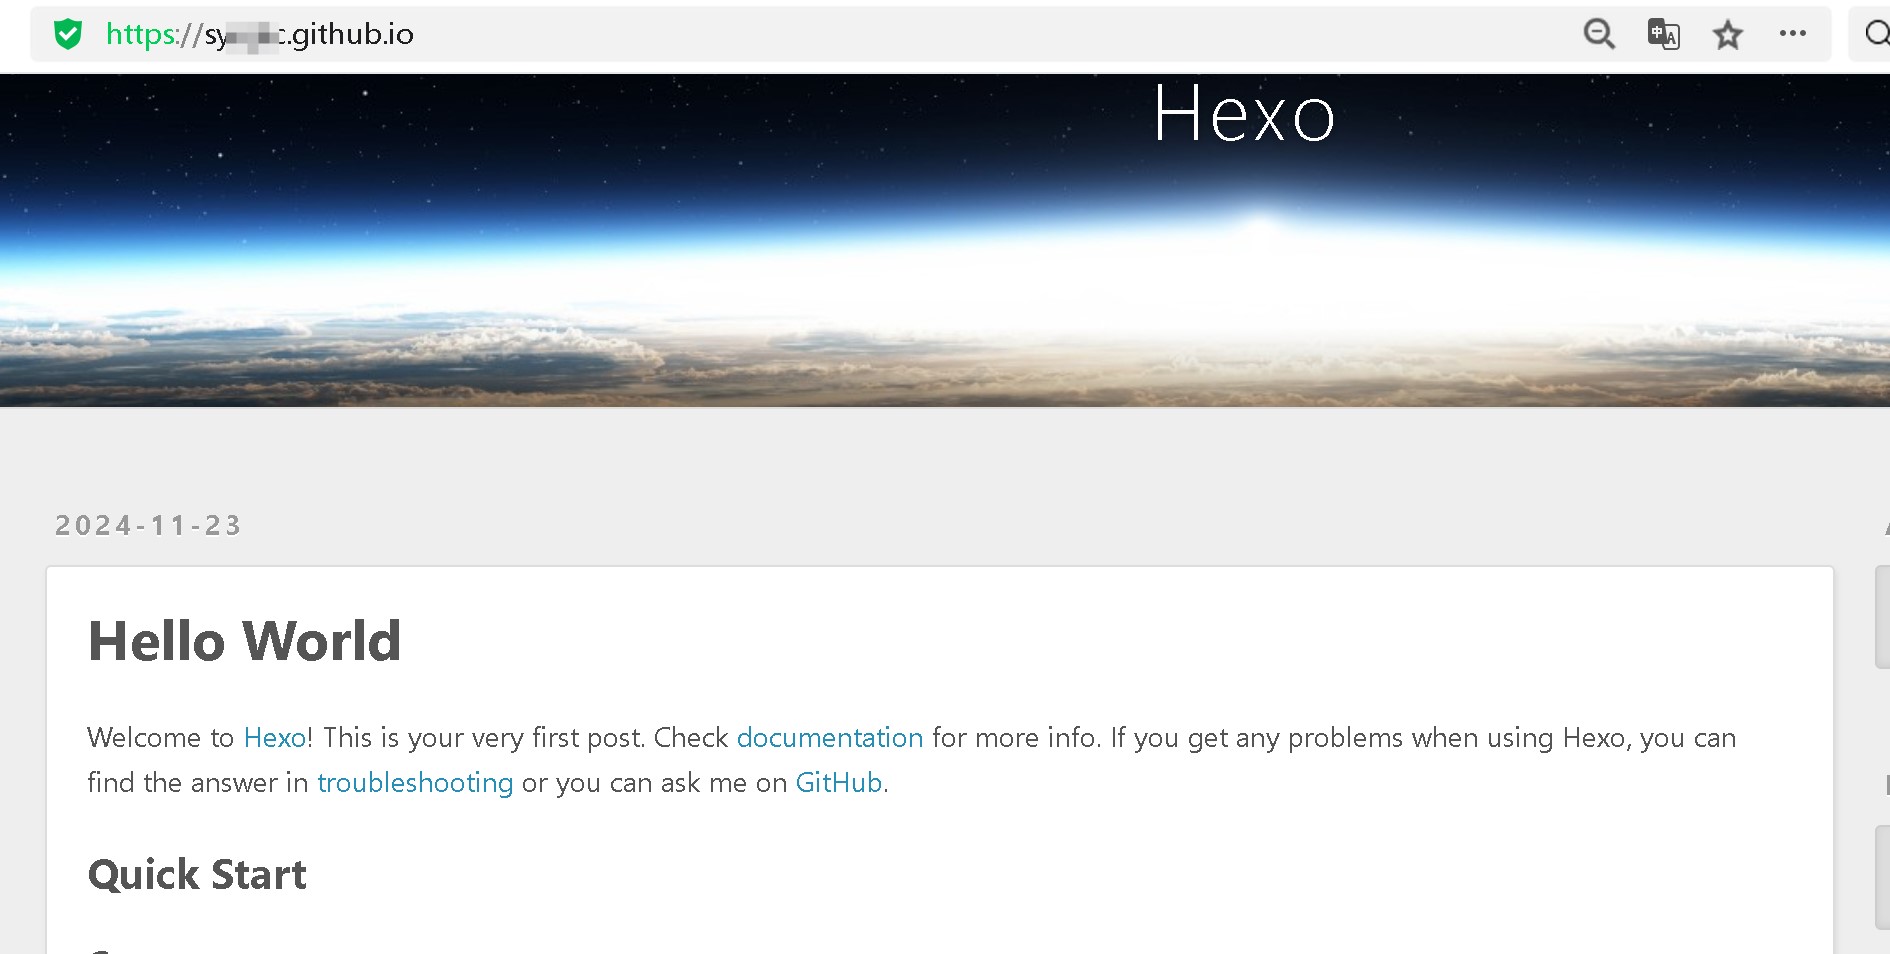
3、输入域名访问
4、更换模板以及将Jopin中的笔记发布到github
使用Mark-magic插件,可以将本地Joplin中的笔记,发布到本地Hexo,以及发布到github pages上,具体见另外笔记:
Windows 10安装Hexo 搭建个人博客并更换主题模板
将Joplin笔记发布到本地Hexo博客
